|
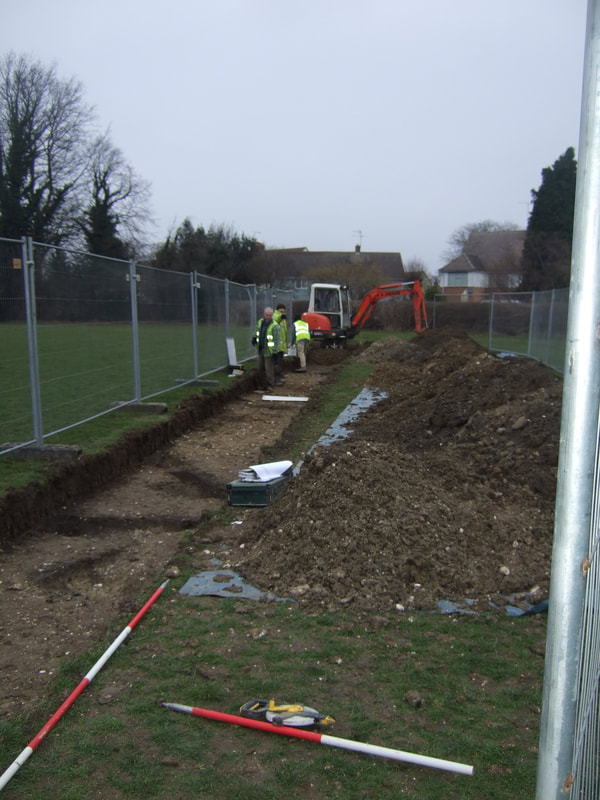
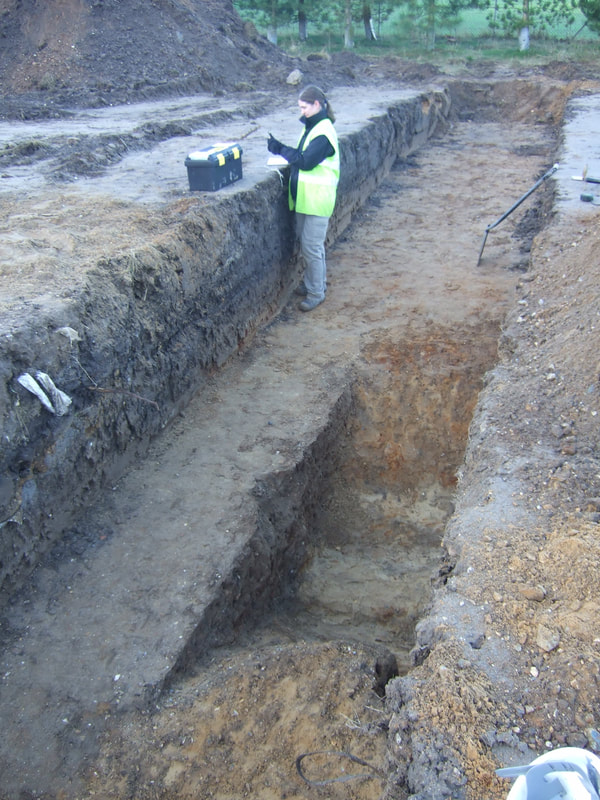
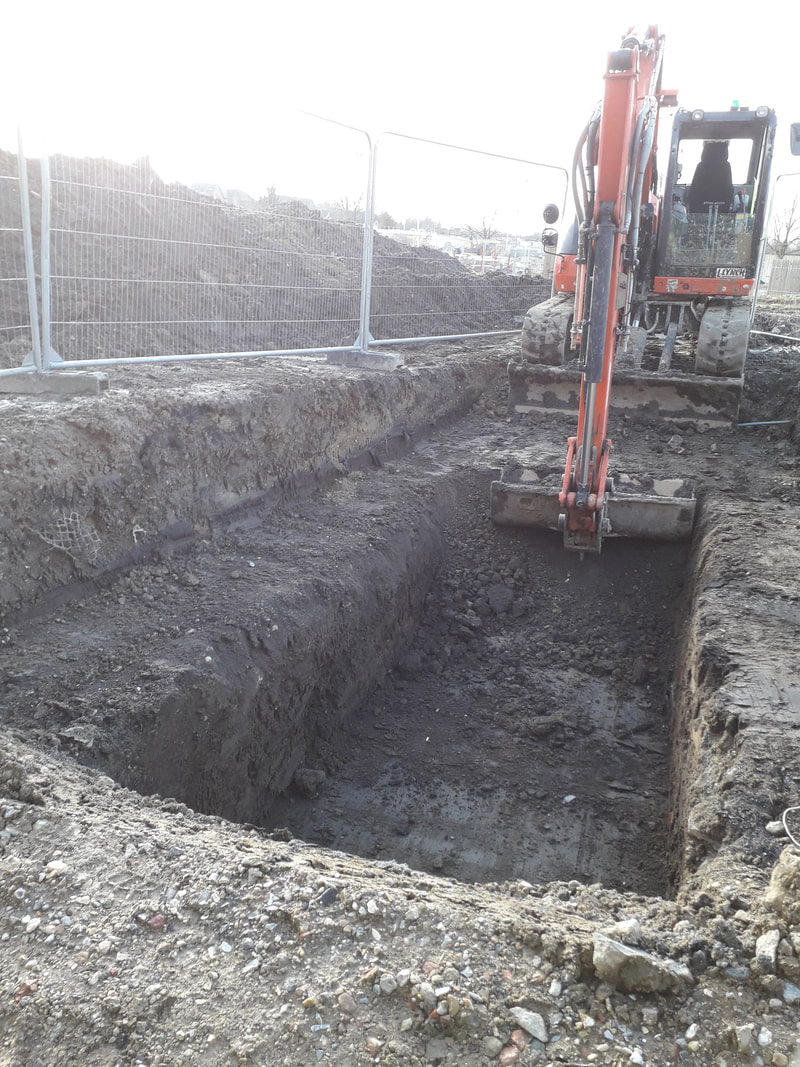
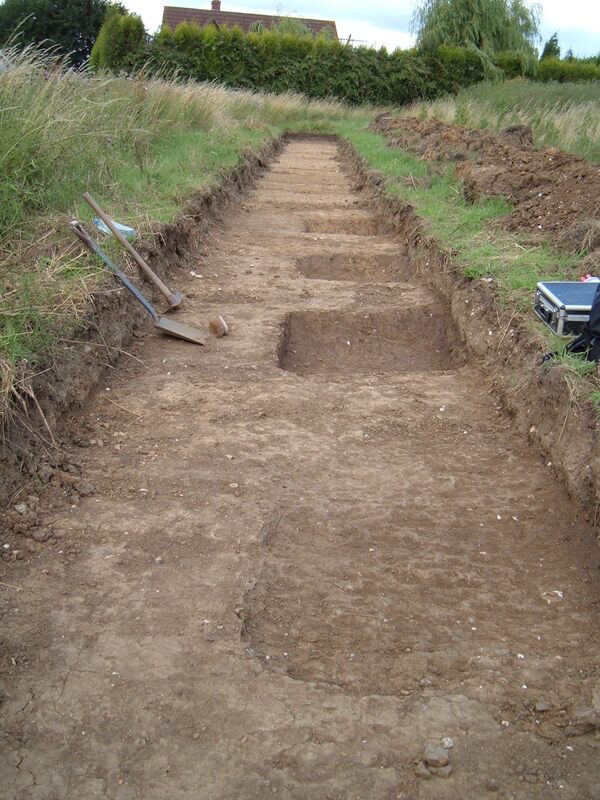
Following on from my previous blog on geophysics and the preceding one on Desk-Based Assessments, this time I’m discussing one of the ways we can take the archaeological process forward following those processes. In this case: Archaeological Trial Trenching. It is important to note here that trenching is intended to give archaeologists as much of a view of the site as possible whilst causing the least damage, and that what we see is only a window into what lies below the ground. There is a distinct advantage therefore in evaluation trenching following a geophysical survey as we can use the survey results to identify potential archaeological hotspots, or individual features and so strategically target our trenches to assess the dates and nature of the expected archaeology, and test the accuracy of the geophysical survey. If there is no geophysical survey available, trenches are usually planned to be excavated either in a herringbone pattern across the site or alternating east-west / north-south to cover a specified percentage of the overall site area. Trenches can be any size and shape. Usually we mean something 1.80m wide by 10-50m in length, but a trench can be as small as a 1m x 1m hole (often referred to as a test pit). There is also no set number of trenches for an archaeological evaluation. The number and size of the trenches required is determined on a site by site basis. Smaller sites requiring between 1 and 10 trenches and larger ones anything from 30 -300 or more. There is no set depth that we excavate trenches to either. We look for the archaeological horizons, so the uppermost layer of strata in which we encounter archaeological features, this also on a site by site basis; the archaeological horizon may be the upper level of the natural geological strata or it may be a demolition layer into which pits have been cut. Rural sites often produce shallow trenches usually 0.50m or less. (although deeper stratigraphic sequences may be seen at the base of hills or in heavily worked areas. By contrast urban sites produce trenches that are frequently over 1m in depth and can be several meters deep due to the use and reuse of the site over time. The aim of the archaeological evaluation trenching is to assess the archaeological potential and the expected significance of any archaeological deposits or features encountered. A large number of archeologically blank trenches indicates a low potential for previous activity to be present on the site. Likewise, a substantial amount of modern landscaping which has resulted in heavy disturbance of the underlying natural geology of the site will indicate a low potential for the survival of archaeological materials. However, trenches which produce archaeology can be indicative of moderate to high potential for previous land use and settlement in which case further archaeological works are likely to be requested before any proposed development of the land will be allowed to proceed. So, how is the evaluation conducted? Usually there will be at least two archaeologists present on an evaluation job. A field supervisor to monitor the machine and field archaeologists to undertake recording and excavation of the features. Archaeologists on site will work to a Written Scheme of Investigation (WSI) which details the intended development, known historical background of the area including any previous archaeological works, the expected geology (as noted in the British Geological Survey), height above Ordnance Datum, and if we are lucky, the service plans for the site detailing where any underground cables and/or service runs may be (these are frequently inaccurate see my previous services blog post!). We also have a plan of the intended trench locations. These days we usually load this data into a GPS unit and set out and record our trenches onto the machine. However, it is possible to both set out and record using tape measures and triangulation, although as use of the GPS becomes more frequent, this skill is being lost. The first thing the supervisor should do on arriving on site (besides greeting the client and if on an active construction site undertaking an induction) is to ensure that the site is safe to work on and that welfare is available (this may be arriving later or may be local facilities). The supervisor should also walk the site with the trench plan to look for hazards such as overhead cables, fences, trees or other potential issues that may require the repositioning of a trench or may cause a hazard to the staff working on the site. Trenches can be laid out using a plan mapped onto a GPS or can be measured in from landmarks on a map. To ensure that the correct percentage of the site is covered by the evaluation trenching it is a good idea to extend each trench by 1 or 2 meters as some inevitably end up smaller. It’s also a good idea to dig a test pit in at least one trench to test that what looks like the right natural layer is really the layer we are looking for. Trenches are stripped by machine with a bladed bucket, affectionately referred to as the big yellow trowel, and are monitored by an archaeologist at all times. It is often useful to extend the trench by a few meters when laying out as they have a tendency to shrink once access ramps are in place, and it is also useful to excavate a test pit in at least one of the trenches to confirm that what looks like the undisturbed natural geology is actually the natural geology. Redeposited natural layers can be confusing and geology like brickearth can be hard to spot to the untrained eye. What we look for during the excavation of the trench are the changes in geological build up, where the topsoil changes to subsoil, where the subsoil changes to undisturbed geological layers – we call it natural geology however a more correct term would be the undisturbed upper layer of the natural strata. At least this is the case on rural sites, as outlined above urban trenches can be several meters deep with huge built up layers. (The difference between the two types of site is worth a blog post on its own!). In either case what we are looking for is evidence of previous human activity. If there is a high level of archaeology we may not investigate every single feature that we see in a trench. Archaeology is a destructive process and if the evaluation indicates a high presence of archaeological features, their excavation may be best left until a later date when the whole site is stripped and the features can be seen properly. We record everything that we see and locate it with the GPS unit so that when we, or another unit returns to the site, we can locate our evaluation trenches and confirm how what we recorded in the evaluation fits into the site as a whole. We record everything we do in the evaluation as once we have removed something we cannot put it back. The trenches are tied in to the OS national grid so that there is a record of exactly where everything was found. Each trench and feature are planned either by hand at a scale of 1:20 or, more frequently with the GPS unit. Spot heights are taken, at the top and base of the trench and each feature. Context numbers are assigned for everything that was excavated, photographs are taken, section drawings are created and a thorough record is made before the trenches are backfilled. A report detailing what was found on the site, including any potential dates from analysis of the finds is produced and submitted to the local planning authority. It is they who will decide what the next step is for the site. If the results of the evaluation match the geophyisical survey, or there was a lot of archaeological deposits and features recorded, then it is likely that further investigation of the site will be required. If there was very little material then perhaps a watching brief will be conducted, observing the groundworks associated with the development, and recording anything that may be observed. The evaluation therefore gives us the first (second if a geophysical survey was undertaken) look at the site via a series of small windows. It is not a fool proof method. I have heard tales of sites that found a modest amount and on further excavation showed that each trench had been excavated between the burial plots of a vast cemetery. I have done a site myself where the evaluation suggested that some medieval activity had occurred but little of major significance, when we went back to do the excavation we found a medieval brew house. One of our trenches had gone through the doorway and missed out the walls - we had only recorded a shallow gully where the threshold should have been! Our mistake was clear when we returned but during the evaluation we could only work with what we could see.
And it goes the other way too. A few years ago, I dug a site where the evaluation indicated there was high potential for a Roman temple. We stripped the whole area, found an Iron Age settlement and a lot of high-status Roman tile from a bathhouse, but no temple and no sign of structural remains or robber trenches, just a lot of dispersed tile and pottery rubble suggesting a villa was likely nearby. Evaluation trenching is merely a window into what lies below, it cannot tell us everything about a site and so a site’s journey from DBA to development is unlikely to end at this stage. In my next blog I’ll look at the approach we take if we found little in the evaluation stage. A watching brief.
0 Comments
|
S. M. PorterProfessional archaeologist and author, S. M. Porter loves history, adventure and digging in the mud. Her career is in ruins - just where she wanted it to be. Archives
June 2023
Categories
All
|


 RSS Feed

